Saturday, May 30, 2020

Fix it, Don't trash it!

New toy, new activity!


Yes! I have now a brand new 3D printer and my first project after 9 hours assembling, testing and a bag of Haribo bears courtesy of Joseph Prusa,  was to fix my foldable hand truck.

I hate to trash things if they can be fixed and I kept may danged foldable hand truck waiting for the 3D printer. A plastic part that locks the folding mechanism broke months ago so it was unusable. With the help of Fusion 360, a caliper and my new 3D printer I made the new part and now I have a working hand truck 👍😀

Friday, May 15, 2020

The Suprematist Time Keeping Machine


The Suprematist Time Keeping Machine

I made this clock as a present for my younger son to decorate his new home. 

The idea of this clock started during a visit to the National Art Gallery in Washington, DC. In the modern art section, there is a sculpture created in 1915 by the French artist Ivan Puni (1894-1956). Puni was an artist following the Suprematist art movement, very popular in Rusia. Below the pictures that I took at the gallery:

Suprematist Construction Montage
By Ivan Puni (1915-1916)

When I saw the sculpture, the idea of a clock came right away. The black circle will long rectangle as the second's hand, the long rectangle in the red square the minute's hand and long polygon on the black triangle as the hour's hand. The artist used cardboard, paper, and some scrap metals to make the sculpture, some of the paint is fade out by the time. The sculpture is protected with a transparent plastic cover to protect it.

My clock is a replica in the size and shapes of the original sculpture, but I used some other materials for durability and modern construction techniques. I used for the back place 1/4" plywood and dark Danish Oil stain. There is another inverter L shape piece that I think is some kind of stone in the original art, I used MDF with a smoke gray paint. For the square, triangle, minute's, and the hour's hands and circle, I used 1/8" plywood. The second's hand is aluminum.

I built the large cone shape with a brass sheet, the smaller cone shape with a sheet of galvanized steel, and the corrugated panel with an aluminum sheet.

I used for all the wheels, except the motor pinion 1/4" and 3/8"  Premium Baltic Birch Plywood B/BB Grade. 

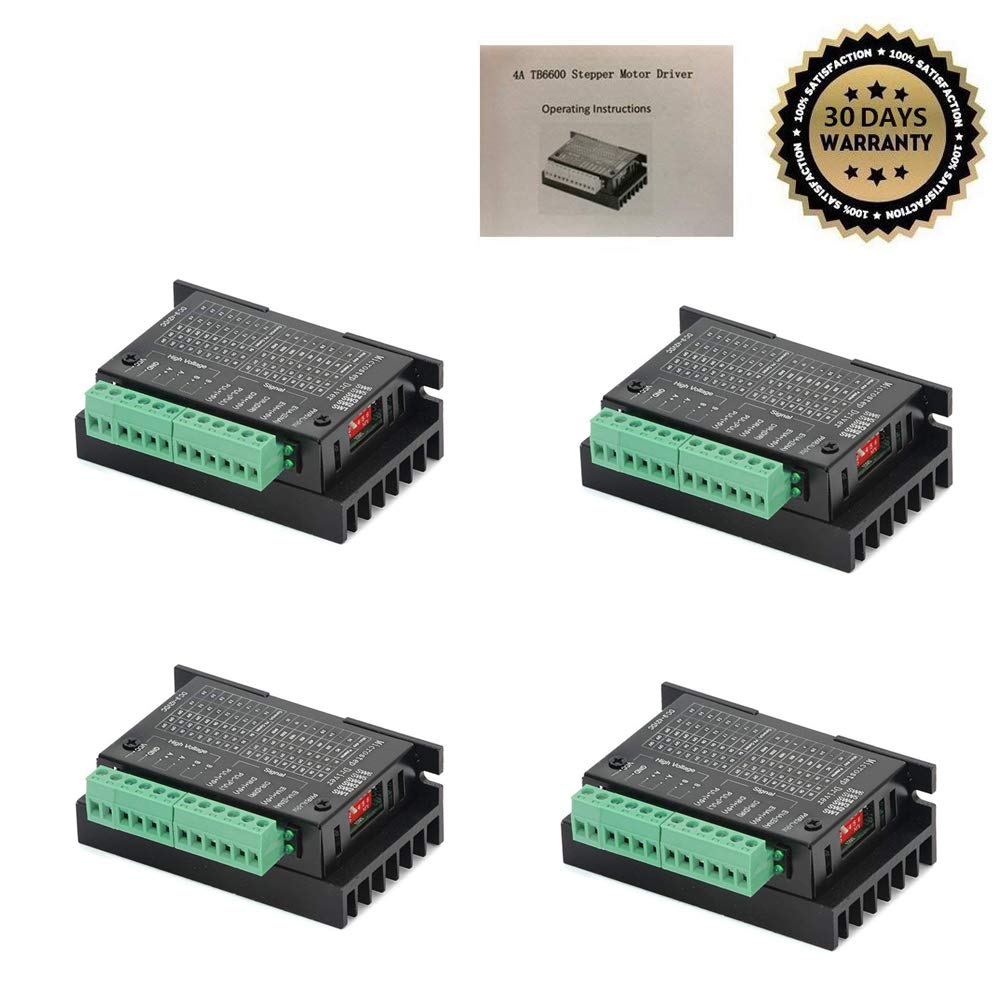
The clock drive is a stepper motor controlled by an Arduino Nano with an RTC (real-time clock) and a micro-stepping stepper motor drive board. The stepper motors are noisy when running at low speed, even with micro-stepping, so I isolated the motor with rubber spacers and also made a rubber pinion to drive the clock.

All the wheel shafts are 1/4" brass, and all are installed with sealed roller bearings.

Creating the Model:
First things, first! And the first thing is the model, and as usual, I used Fusion 360 to create the 3D model of the clock.

I found the dimensions information on the National Gallery website and started my model with a canvas image scaled at the real size. Below you can see an animation of the transition from the canvas picture to the model:
 

Many hours of work resulted in a model almost identical to the original. There is some small modification in the position of the hour's hand to avoid collision with the minute's hand and to reference a real-time relation between the hours, the minutes, and the seconds. The artist made the sculpture in a way that it almost shows a real hour!

Tuesday, May 12, 2020

Back to my garage (COVID-19) stay at home. New CNC controller for may 30/40 CNC router

Work, travel, and some health issues kept me out of my garage for a long time.

During these difficult days, doe to my age and previous health conditions, I must stay at home.

My design workload that can be done from home is also low as my customers are also reducing their activities to the minimum necessary, so I am back to my garage.

After a few days of cleaning and reorganizing, I restarted a project that was on hold for a long time: Refurbish my CNC; I have been working on this project on and off for several months during my short home return from my frequent travel schedule.

The scope of the project is:
  1. New computer to control the machine
  2. Upgrade to MACH4 software
  3. New driver board compatible with MACH 4 and Ethernet connection
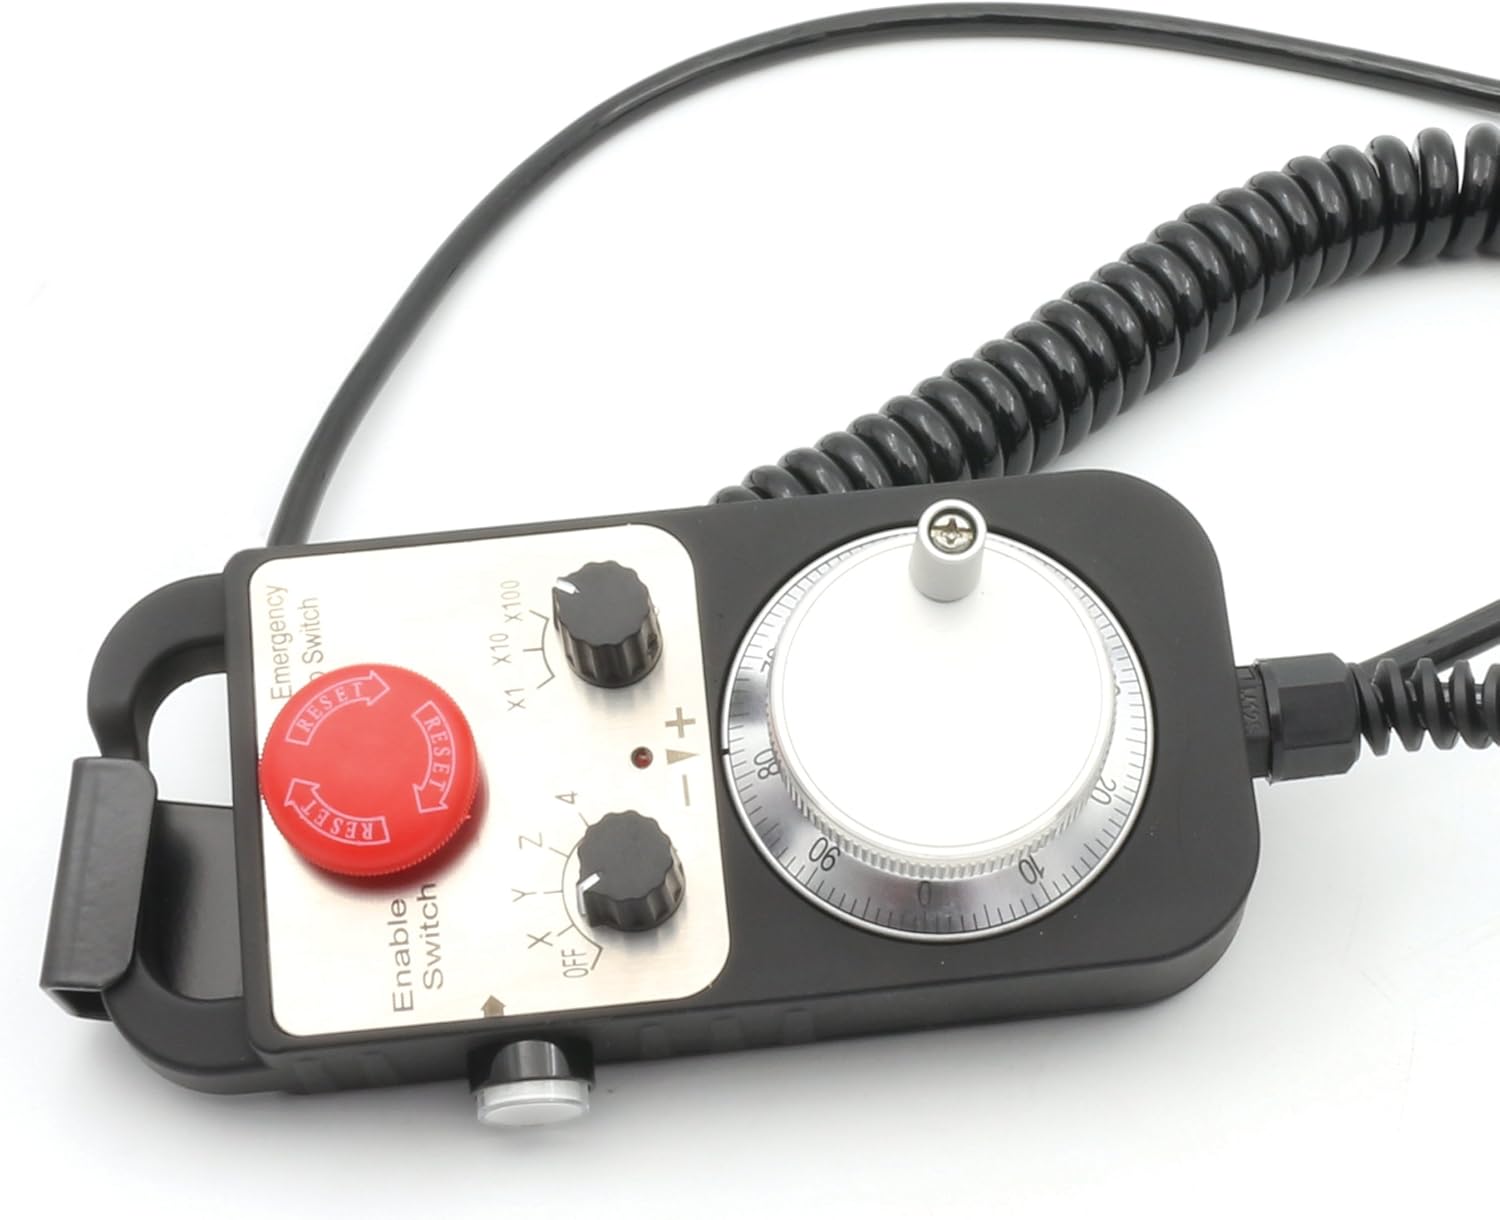
  4. Add a manual pendant.
  5. Mechanical maintenance of the router.
  6. Add limit/home switches.
  7. Add an Axis Z height probe.
  8. Add a rotary axis (B)
  9. Add a small laser head for engraving.

For the new computer, I used a laptop that my son left when he bought a gaming computer, this is an I5 8GB Ram, running Windows Vista. I replaced the hard drive with a 500GB SSD, installed Windows 10, and bought and installed a Mach4 hobby license.

After in-depth investigation and some failed purchases of driver boards compatible with Mach4, I finally found a good one with a lot of documentation and support, the PoKeys57CNC Motion Controller for Mach4, and now, after using it for some time, I am sure I made the right decision.

The next step was to order all the components and design with Fusion 360 and fabricate the controller box.


I fond all that I needed like connectors, switches, in Amazon. When I ordered the Pokey board, they offer a flat cable and connector kit that makes it very easy to interface.

The two crucial things I added are the pendant and the stepper motor drivers.


I sent the design of the sheet metal case to Protocase, and after the quotation and some engineering questions, I received the metal case in less than a week perfectly made and painted.

Once I got all the parts, I needed about 50 hours to assemble and wire the control and to install the limit, home switches, and the touch probe for tool measurement in the machine.

It took another full week to learn and start the Mach4 software, configure the Pokey in Mach4 and make the first part.

The last upgrade I made is that I bought a Chinese  5.5W led laser head, designed and built a bracket to install the laser on the body of the spindle motor, add the necessary connections to the new control and creat a laser machine profile for Mach4 I am delighted with the results although it is a very inexpensive laser device,